HULFT-WebFileTransfer構築
HULFT-WebFileTransferの評価版のとりあえず動かす構築メモ
前提
myHULFT URL : http://my.hulft.com/ から下記が完了している前提で記載します。
・HULFT-WebFileTransferのモジュール(hulft-webfiletransfer-vXXX.zip)ダウンロード
・ダウンロードキー、ライセンスキー取得
環境
以下の環境をAWSのEC2にて構築しています。
・OS:Red Hat Enterprise Linux Server 8 [x64]
・Java:Java SE Development Kit 11(JDK 11)
・Webサーバ:Apache Tomcat 8.5.x
・DB:PostgreSQL 11.x
手順
EC2インスタンス構築
AWS関連の手順は割愛します。
EC2
AMIは下記を利用しました。
・RHEL-8.4.0_HVM-20210504-x86_64-2-Hourly2-GP2 - ami-0bccc42bba4dedac1
セキュリティグループ
■Inbound
・8080(Webアクセスで利用)
・22(SSH、ファイル転送で利用)
OS設定
sshでログイン後、以下のコマンドを実行します。
基本設定
# rootユーザーに切替
sudo su -

# SELINUX無効化(SELINUX=enforcing → SELINUX=disabledへ変更)
vi /etc/selinux/config

# ホスト名変更 ※HULFTWFTのセットアップファイルで指定するので、設定してください。
hostnamectl --static set-hostname [ホスト名]

# パッケージアップデート
dnf update -y --exclude=kernel*

# IPv6無効化(GRUBCMDLINELINUX行に「ipv6.disable=1」を追記)
vi /etc/default/grub
grub2-mkconfig -o /boot/grub2/grub.cfg

# 再起動
reboot
Tomcatインストール設定
# rootユーザーに切替
sudo su -

# OpenJDK をインストール
dnf install java-11-openjdk -y

# tomcat用のユーザ作成
useradd --no-create-home -s /sbin/nologin tomcat

# tomcat をインストール(Tomcatのバージョンは置き換えてください)
cd /tmp
curl -O http://archive.apache.org/dist/tomcat/tomcat-8/v8.5.28/bin/apache-tomcat-8.5.28.tar.gz
tar -xzvf ./apache-tomcat-8.5.28.tar.gz
mv  ./apache-tomcat-8.5.28 /opt/apache-tomcat-8.5.28
chown -R tomcat:tomcat /opt/apache-tomcat-8.5.28
ln -s /opt/apache-tomcat-8.5.28 /opt/tomcat8

# tomcatのサービス設定(ここから~ここまでの内容を記載)
vi /etc/systemd/system/tomcat8.service
chmod 644 /etc/systemd/system/tomcat8.service

################ここから################
[Unit]
Description=Apache Tomcat Web Application Container
After=syslog.target network.target

[Service]
User=tomcat
Group=tomcat
UMask=0007
Type=oneshot
RemainAfterExit=yes
PIDFile=/opt/tomcat8/tomcat.pid
WorkingDirectory=/opt/tomcat8

Environment=JAVA_HOME=/etc/alternatives/jre
Environment=CATALINA_PID=/opt/tomcat8/temp/tomcat.pid
Environment=CATALINA_HOME=/opt/tomcat8/
Environment=CATALINA_BASE=/opt/tomcat8/
Environment='CATALINA_OPTS=-Xms512M -Xmx1024M -server -XX:+UseParallelGC'
Environment='JAVA_OPTS=-Djava.awt.headless=true -Djava.security.egd=file:/dev/./urandom'

ExecStart=/opt/tomcat8/bin/startup.sh
ExecStop=/opt/tomcat8/bin/shutdown.sh
ExecReload=/opt/tomcat8/bin/shutdown.sh;/opt/tomcat8/bin/startup.sh

[Install]
WantedBy=multi-user.target
################ここまで################

# tomcatのサービス登録/起動
systemctl daemon-reload
systemctl enable tomcat8.service
systemctl start tomcat8.service
PostgresSQLインストール/設定
HULFT-WebFileTransferの動作環境は、PostgresSQL11が最新です。
# PostgresSQLのリポジトリを追加する
dnf install https://download.postgresql.org/pub/repos/yum/reporpms/EL-8-x86_64/pgdg-redhat-repo-latest.noarch.rpm -y
dnf config-manager --disable pgdg96 pgdg10 pgdg12 pgdg13 pgdg14 -y

#postgresqlのモジュール指定解除
dnf module disable postgresql -y

#dnfキャッシュクリア
dnf clean all

#PostgresSQL11インストール
dnf install postgresql11-server -y

# PostgresSQLのデータベース初期化
/usr/pgsql-11/bin/postgresql-11-setup initdb

# PostgresSQLの認証方式変更(ファイルの下部を、ここから~ここまでの内容に変更)
vi /var/lib/pgsql/11/data/pg_hba.conf

################ここから################

# TYPE  DATABASE        USER            ADDRESS                 METHOD

# "local" is for Unix domain socket connections only
local   all             all                                     trust
# IPv4 local connections:
host    all             all             127.0.0.1/32            trust
# IPv6 local connections:
# host    all             all             ::1/128                 trust
# Allow replication connections from localhost, by a user with the
# replication privilege.
#local   replication     all                                     peer
#host    replication     all             127.0.0.1/32            scram-sha-256
#host    replication     all             ::1/128                 scram-sha-256

################ここまで################


# PostgresSQLの有効化/起動
systemctl start postgresql-11
systemctl enable postgresql-11
HULFT構築
HULFT-WebFileTransferのモジュール(hulft-webfiletransfer-vXXX.zip)から以下のファイルを取り出しサーバに転送します。
ここでは「/tmp」フォルダに転送した状態で説明します。
・TOOL/DDL/PostgreSQL.ddl
・webft.war
JDBCドライバの配置
JDBCドライバのバージョンは自身の環境に合わせる。
cd /opt/tomcat8/lib

curl -O https://jdbc.postgresql.org/download/postgresql-42.3.1.jar
Webft用のデータベース/テーブル作成
cd /tmp
psql -h localhost -U postgres
postgres=# create database webftdb;
postgres=# \c webftdb;
postgres=# \i /tmp/PostgreSQL.ddl;
postgres=# \q
webft.warからセットアップ
cd /tmp
cp ./webft.war /opt/tomcat8/webapps/

chown -R tomcat:tomcat /opt/tomcat8

systemctl restart tomcat8.service
setup.xmlの編集
HULFT-WebFileTransferのモジュール(hulft-webfiletransfer-vXXX.zip)から以下のファイルを取り出します。
・TOOL/XML/setup.xml
ハイライトの行を自身の環境に書き換えます。※評価版の手順になります。(製品版の場合、別途「license_key」も必要)
※サーバのホスト名が「hulftsv」の場合は、<host_name>[サーバーのホスト名]</host_name>は<host_name>hulftsv</host_name>になります。
<?xml version="1.0" encoding="UTF-8" ?>
<!-- Copyright(c)2010-2012 SAISON INFORMATION SYSTEMS CO.,LTD. All Rights Reserved. -->
<!-- Setup Information File                                                         -->
<webft version="1.0.0" xmlns:webft="http://www.hulft.com/webft/ws">
	<setup>
		<license>
			<license_key></license_key>
		</license>
		<products>
			<product>
				<host_name>[サーバーのホスト名]</host_name>
				<product_key>[プロダクトキー]</product_key>
				<serial_key>[シリアルキー]</serial_key>
			</product>
		</products>
	</setup>
</webft>
セットアップ/動作確認
①下記URLにアクセスします。
http://[ドメイン or IPアドレス]:8080/webft/setup/index.html
②下記の初期アカウントを入力し[ログイン]をクリックします。
・グループID:webft
・ユーザーID:administrator
・パスワード:administrator
・セットアップ種別:評価版
③セットアップ画面に遷移するので、上で作成した[setup.xml]を参照して[セットアップ]をクリックします。
ログオン
①下記URLにアクセスします。
http://[ドメイン or IPアドレス]:8080/webft/webfiletransfer.html
②下記の初期アカウントでログオンします。
・グループID:webft
・ユーザーID:administrator
・パスワード:administrator
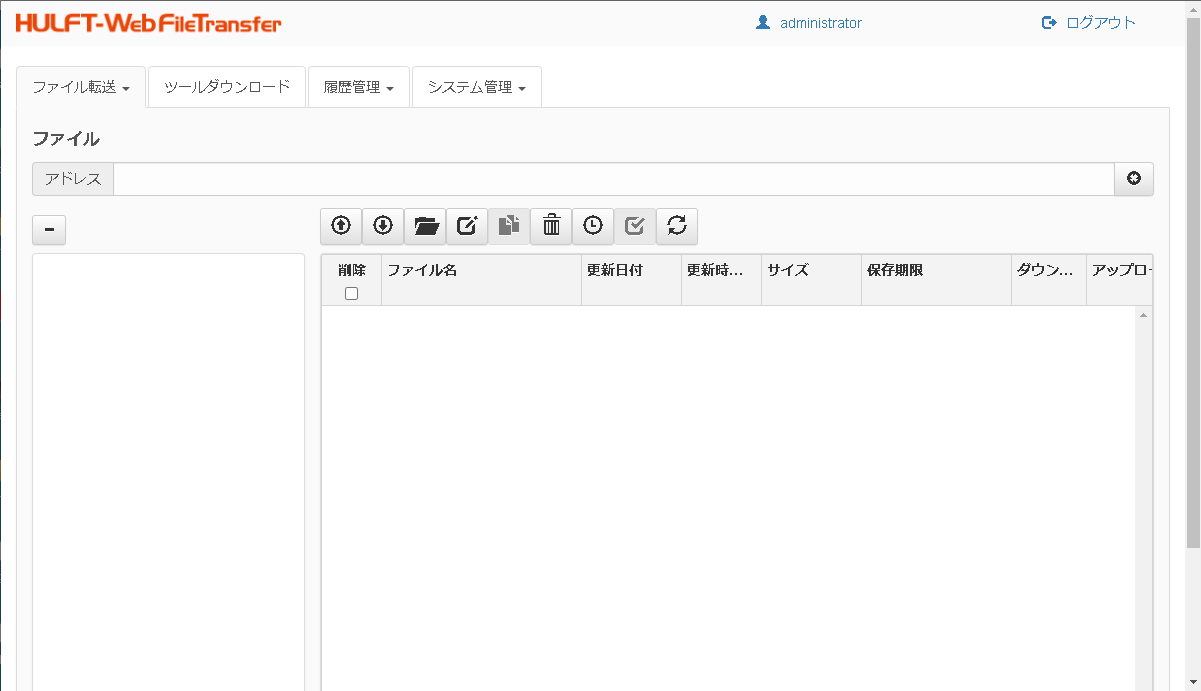
③ログインが成功すれば構築完了です。
備考
PostgreSQLの接続アカウントをデフォルト以外で利用したい場合は、下記の設定ファイルを編集します。
context.xmlの編集
vi /opt/tomcat8/webapps/webft/META-INF/context.xml

# 下記ハイライト行を編集します。
<Context reloadable="false" >
    <Resource name="wm/FooWorkManager" auth="Container"
        type="commonj.work.WorkManager"
        factory="de.myfoo.commonj.work.FooWorkManagerFactory"
        maxThreads="100"
        minThreads="99" />

    <Resource
        name="jdbc/webft"
        auth="Container"
        type="javax.sql.DataSource"
        username="postgres"
        password=""
        driverClassName="org.postgresql.Driver"
        url="jdbc:postgresql://localhost:5432/webftdb"
        maxTotal="50"
        maxWaitMillis="5000"
        maxIdle="5"
        initialSize="5" />

    <!-- for Tomcat7
        maxActive="50"
        maxWait="5000"
    -->
セットアップでエラー(9999)が出る
「/temp」に読み書き実行権限が無くエラーがでていたが、そもそも何故「/temp」なのか?
tomcatのサービス設定で、WorkingDirectoryを指定しないとWorkingDirectoryがルート「/」となると思われる。
webftのstruts(webft/WEB-INF/classes/struts.xml)で[struts.multipart.saveDir]が[value=“temp/webft”]となっているので「/temp」に読み書き実行権限が無いとエラーとなっていたと推測
→WorkingDirectoryを「/opt/tomcat8」と明示的に指定したところ、webftの一時ファイルが「/opt/tomcat8/temp/webft」に作成されたことから、あっているはず。解決!